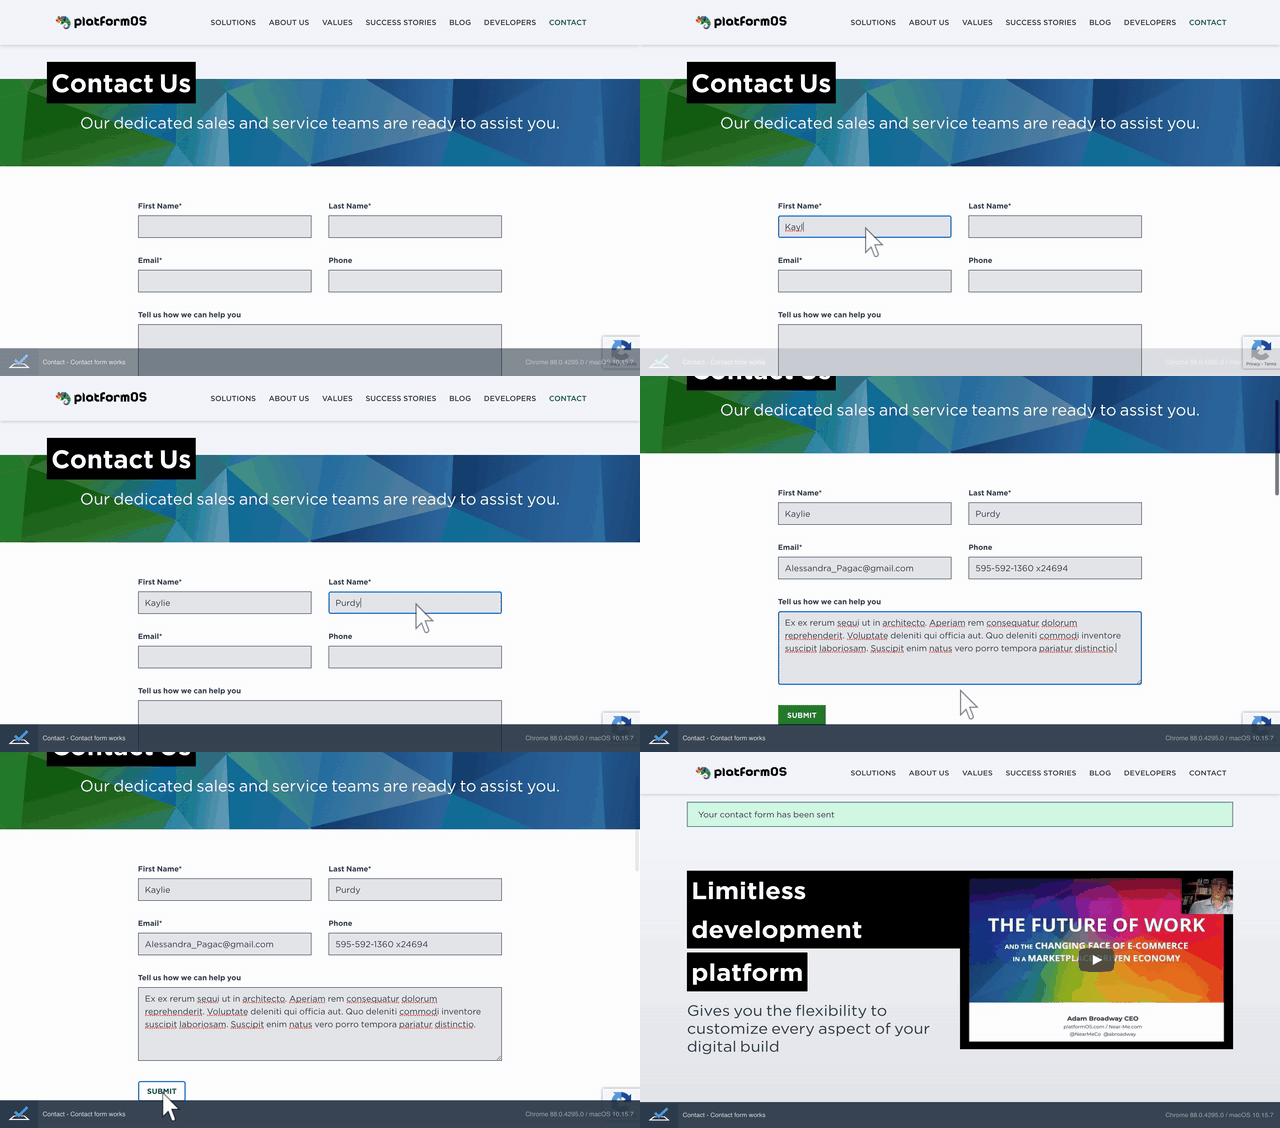


Marketing forms are often connected to a third-party system to help the marketing team provide faster and more accurate responses.
We integrated our contact page with Slack, HubSpot, SendGrid, and emails. Whenever someone fills in the form, we notify the appropriate people via email, Slack message, and create records in HubSpot and SendGrid for future management of those contacts.

One day we received the email, but the Slack notification did not come through, and this made me think about testing Slack notifications to catch regressions in this area.
To achieve this, we need two things:
platformOS API Call notifications support WebHooks, so that's what we used for Slack messages. The setup involves only a couple of lines of code, but the most important in the context of this article is the WebHook URL.
---
name: slack_landing_sales
delay: '0'
enabled: true
format: http
headers: '{ "Content-Type": "application/json" }'
request_type: POST
to: https://hooks.slack.com/services/XXX/XXX/XXX
trigger_condition: true
---
{
"text": "
Heads up! Contact from {{ form.properties.url }}.
Name: {{ form.properties.first_name }} {{ form.properties.last_name }}
Email: {{ form.properties.email }}
Phone: {{ form.properties.phone }}
Comments: {{ form.properties.description }}",
}
The line to change is the one with to: [
To not send test data to the production Slack channel, it is a good idea to differentiate production from everything else:
to: >
  {% if form.properties.url contains 'https://www.platformos.com' %}
  https://hooks.slack.com/services/XXX/XXX/XXX
  {% else %}
  https://hooks.slack.com/services/YYY/YYY/YYY
  {% endif %}
This if condition will check if the form field called url contains a particular string. Because we are populating it before sending the form, it is filled in with the URL of the instance. In the case of our production site, it is https://www.platformos.com.
Now, we need to programmatically go through the form, fill it, send it, and validate that it has been sent successfully.
We use TestCafe for E2E tests. It is not too difficult to start using it if you have experience with testing.
import { Selector } from 'testcafe';
import { BASE_URL } from './env';
import faker from 'faker';

fixture('Contact').page(`${BASE_URL}/contact`);

test('Contact form works', async (t) => {
  const fn = Selector('[name="form[properties_attributes][first_name]"]');
  const ln = Selector('[name="form[properties_attributes][last_name]"]');
  const email = Selector('[name="form[properties_attributes][email]"]');
  const phone = Selector('[name="form[properties_attributes][phone]"]');
  const description = Selector('[name="form[properties_attributes][description]"]');
  const submitBtn = Selector('button').withText('SUBMIT');

  const notice = Selector('[role="alert"]').withText('Your contact form has been sent');

  await t
    .typeText(fn, faker.name.firstName())
    .typeText(ln, faker.name.lastName())
    .typeText(email, faker.internet.email())
    .typeText(phone, faker.phone.phoneNumber())
    .typeText(description, faker.lorem.paragraph(), { paste: true });

  await t.click(submitBtn);

  await t.expect(notice.exists).ok();
});
A short summary of what is going on here:
Your contact form has been sent message is visible after the form has been sentRunning the test in chromium results in a pretty video:

In your terminal, you should see something similar after running TestCafe:
> testcafe chromium tests --video artifacts --video-encoding-options r=20

 Running tests in:
 - Chrome 88.0.4295.0 / macOS 10.15.7

 Contact
 ✓ Contact form works


 1 passed (38s)
This means that the test passed, so now it is time to verify if the Slack notification came through. This is what this test generated:

To make our lives even more automated, we add the npm run test-ci command to our CI workflow. For this project, we use Jenkins, but you might use Github Actions, Travis, or CircleCI if you prefer. Remember that your CI server has to have a browser supported by TestCafe (see the list of officially supporter browsers here).
In our case, making tests run on every master branch run was similar to:
stage('Test on URL') {
    agent { docker { image "platformos/testcafe" } }
    environment { MP_URL = "${params.MP_URL}" }
    steps {
      sh 'npm run test-ci'
    }
    post { failure { archiveArtifacts "screenshots/" } }
}
We also use a different command on CI because we want to take screenshots of failures only and run the test in a headless browser (it is much faster — the test above runs in 6 seconds instead of 38):
testcafe 'chromium:headless' --screenshots-on-fails --screenshots=screenshots testsNow every time any code is merged into the master branch, TestCafe will test this form and trigger the Slack webhook. If the message will be missing one day, or if the test fails, we will know something is wrong either on our side or Slack's.
I hope this guide will help you avoid some of the regressions. Here are some resources that you might find useful if you decide to follow our path:
Ensure your project’s success with the power of platformOS.